 eSeGeCe
software
Indy Setup Rad Studio Delphi and CBuilder
From sgcWebSockets 2022.10.0, the sgcIndy package can be installed using a windows setup.
The sgcIndy setup uninstall the Standard Indy version that comes with Rad Studio, install the new Indy version and register the required paths.
Installation
- Execute the Installer.
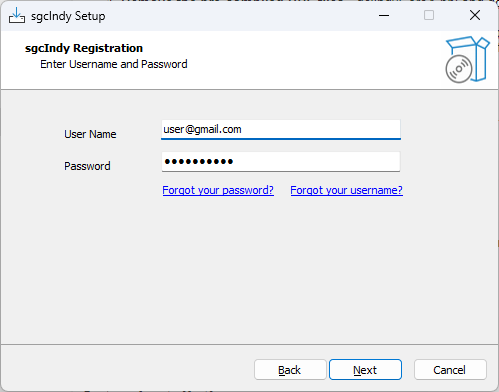
- First you must set your username/password of your private eSeGeCe account. This only must be entered one time, the next time you use the setup, the installer will read the latest value.
- If the user has login successfully, select if you want to install in Delphi, CBuilder or Rad Studio IDE.
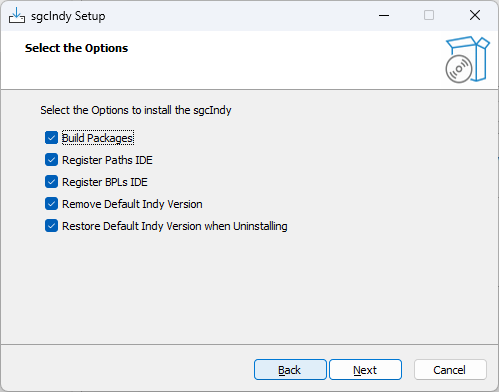
- There are some options that can be customized every time you use the installer, press the button Options to access these properties.
- Build Packages: if selected, the installer will try to build the packages.
- Register Paths IDE: if selected, the installer will register the required library paths in the IDE.
- Register BPLs IDE: if selected and the installer has built the packages successfully, the installer will register the design-time package in the IDE.
- Remove Default Indy Version: if selected, the installer will uninstall first the Standard Indy version that comes with Rad Studio.
- Restore Default Indy Version when Uninstalling: if selected, the installer rollback the uninstalled Standard Indy version when the package is uninstalled.
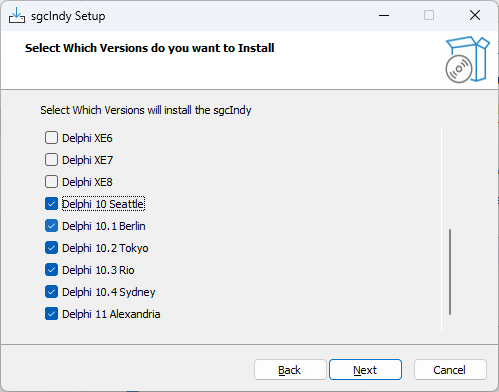
- Now you can select which IDE Versions you want to install. Only those IDE versions that the installer detect as installed, will be available.
- Next step is select the Platforms.
- Select the folder where the package will be installed. If you reinstall the package, the installer will select by default the same folder selected in the previous install.
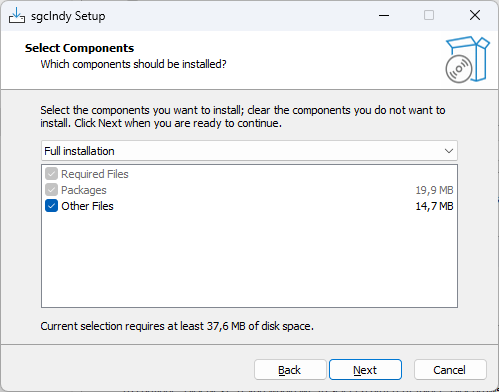
- Select which components to install.
- Finally, it will extract the files, compile and install the package and register the required paths in the IDE.
Stay Informed
When you subscribe to the blog, we will send you an e-mail when there are new updates on the site so you wouldn't miss them.
